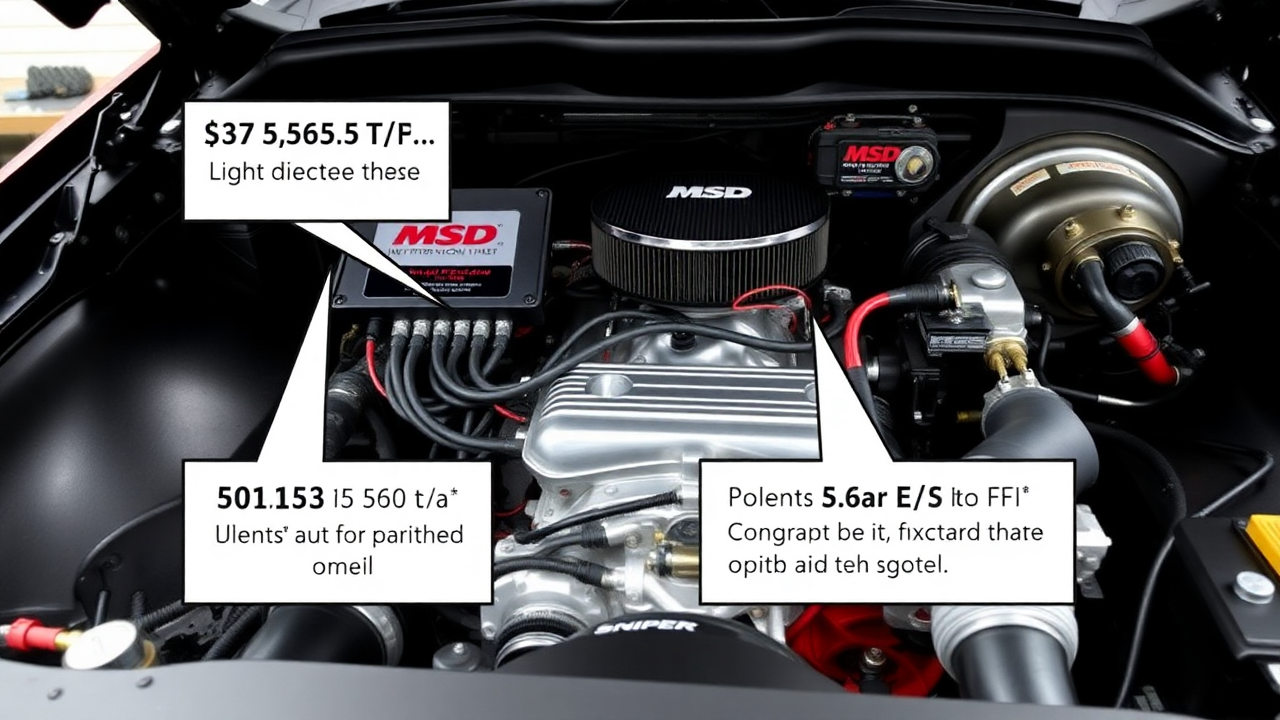
Connecting a Connect 60153MSD to Sniper 2 (Multiple Spark Discharge) ignition control unit to a Sniper EFI (Electronic Fuel Injection) system is an advanced but rewarding process for car enthusiasts and performance-oriented drivers. These two systems are integral to optimizing engine performance, offering precise fuel delivery and enhanced spark control. Together, they ensure that your engine runs more efficiently, responds better to throttle input, and has an overall smoother and more reliable performance.
Introduction
Before we get into the specifics of connecting the Connect 60153MSD to Sniper 2 unit to the Sniper EFI, it’s essential to understand each component’s functionality and importance in your vehicle’s setup.
What is the 60153 MSD Ignition Control?
The 60153 MSD ignition control unit is designed to offer improved spark energy and ignition control for internal combustion engines. This unit is particularly useful for high-performance engines that require better fuel efficiency, smoother idle, and higher RPM capabilities. Some of the key features of the 60153 MSD include:
- Multiple Spark Discharge (MSD): The system delivers multiple sparks at lower RPMs, which helps ensure complete combustion of the air-fuel mixture.
- Adjustable Rev Limiter: The unit allows you to set a maximum RPM to protect your engine from over-revving.
- Increased Spark Energy: The MSD unit provides a high-energy spark, improving engine efficiency and power output.
What is the Sniper EFI System?
The Connect 60153MSD to Sniper 2 system by Holley is a modern, self-tuning fuel injection system that replaces the traditional carburetor. It automatically adjusts the air/fuel mixture based on real-time data, improving fuel economy, throttle response, and emissions. Key features of the Sniper EFI system include:
- Self-Learning Tuning: The system constantly adjusts to optimize fuel delivery for various driving conditions.
- Integrated Ignition Control: Some versions of the Sniper EFI can control ignition timing, which is why connecting it with the 60153 MSD is beneficial.
- User-Friendly Interface: The system comes with a handheld controller or can be accessed via a laptop to monitor performance and make necessary adjustments.
Also read: F273 Spark Plug
Why Connect the 60153 MSD to the Sniper EFI?
Connecting the 60153 MSD to the Sniper EFI system combines the best of both worlds: precise fuel management with advanced ignition control. The synergy between these two systems leads to better engine performance, such as:
- Improved Throttle Response: The combination of optimal spark timing and precise fuel delivery ensures that the engine responds more quickly to throttle inputs.
- Better Fuel Economy: With the Sniper EFI’s self-learning capability and the MSD unit’s advanced ignition control, your vehicle can achieve better fuel efficiency, particularly at various RPM ranges.
- Increased Horsepower: By improving ignition timing and fuel delivery, your engine can generate more horsepower without the need for expensive modifications.
Pre-Installation Preparation
Before beginning the installation process, certain preparations need to be made. Proper planning ensures that the process goes smoothly and helps prevent common issues.
Gathering Necessary Tools and Materials
To install and connect the Connect 60153MSD to Sniper 2 to the Sniper EFI, you’ll need the following tools and materials:
- 60153 MSD Ignition Control Unit
- Sniper EFI System
- Wiring Harness (typically included with both the MSD and Sniper EFI systems)
- Multimeter (to test connections and verify voltage)
- Wire Strippers and Crimpers
- Heat Shrink Tubing and Electrical Tape
- Mounting Brackets (if necessary)
- Screwdrivers and Wrenches
- Vehicle’s Wiring Diagram (optional but helpful)
Ensure Safety First
- Disconnect the Battery: Always disconnect the vehicle’s battery before working on electrical components to avoid short circuits or accidental shocks.
- Work in a Well-Ventilated Area: Perform the installation in a clean and well-lit environment, ideally in a garage or workshop. Make sure you have access to a proper workbench or flat surface.
Step-by-Step Installation and Connection Process
Now that you’re familiar with the components and have prepared your workspace, it’s time to begin the installation process.
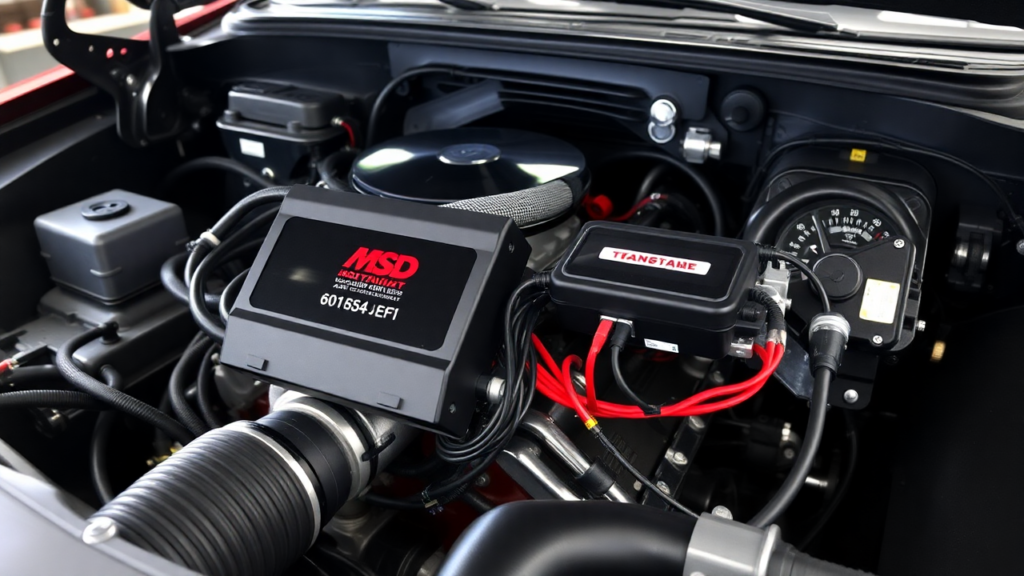
Step 1: Mounting the MSD and Sniper EFI Units
- Locate Mounting Points:
Both the Connect 60153MSD to Sniper 2 and the Sniper EFI should be mounted in positions that provide adequate airflow, away from excessive heat, and where they won’t be exposed to moisture. Common locations include the engine bay or near the firewall. However, the mounting location will depend on your vehicle’s make and model. - Secure the MSD Unit:
Use the provided mounting brackets or custom brackets to securely attach the 60153 MSD to the chosen location. Ensure that the unit is firmly in place to prevent vibrations from causing loose connections. - Mount the Sniper EFI:
Similarly, the Sniper EFI unit should be mounted securely within easy reach of the wiring harnesses and fuel system components. Ensure that it’s properly aligned and can be easily accessed for future maintenance.
Step 2: Wiring the 60153 MSD Unit
The MSD ignition control unit requires several electrical connections to function properly.
Power and Ground Connections
- Power Connection:
Connect the red wire from the Connect 60153MSD to Sniper 2 to a 12V switched power source. This means that the ignition control unit will receive power when the vehicle is running. - Ground Connection:
Secure the black wire from the MSD unit to a solid ground point on the engine block or vehicle chassis. The ground connection ensures that the unit receives a stable electrical reference for operation.
Tachometer Signal Input
- Tach Input Connection:
The 60153 MSD requires a tachometer signal to synchronize spark timing. Locate the tach output wire on the MSD unit (typically green or purple) and connect it to the tach input on the Sniper EFI system. This ensures that the Sniper EFI system will receive RPM data and adjust fuel delivery accordingly.
Step 3: Wiring the Sniper EFI System
The Sniper EFI system needs to be wired to receive input from the MSD ignition control and supply fuel to the engine effectively.
Coil Connections
- Coil Connections for MSD:
Attach the MSD coil positive (typically orange) and coil negative (typically black) wires to the corresponding terminals on your ignition coil. Ensure these are tightly connected to prevent misfires or spark issues.
Ignition Timing Control
- Setting Up the Sniper EFI for Ignition Control:
If you are using the Sniper EFI system to control ignition timing, connect the white wire from the Connect 60153MSD to Sniper 2 unit to the ignition input on the Sniper EFI system. This connection enables the Sniper EFI to adjust ignition timing in coordination with the fuel system. - Programming the Sniper EFI System:
After the physical connections are made, use the Sniper EFI’s handheld controller or laptop software to program the system. Follow the setup wizard to configure parameters like cylinder count, firing order, and RPM limits. The system will also recognize the tach signal from the MSD unit.
Step 4: Testing and Adjusting the Systems
Once the physical connections are made, it’s time to test both the 60153 MSD and the Sniper EFI systems to ensure that they’re working in harmony.
Testing the Connections
- Reconnect the Battery:
Reconnect the negative terminal of the battery. Ensure that all wiring is secure and that no exposed wires could cause short circuits. - Start the Engine:
Start the engine to verify that both systems are functioning properly. Monitor the tachometer signal to ensure that the MSD unit is providing accurate RPM data to the Sniper EFI system. Listen for smooth idle and check for any misfires.
Adjusting the Tuning
- Fine-Tune the Sniper EFI System:
Use the Sniper EFI’s tuning interface to fine-tune the air-fuel mixture and ignition timing. Adjust settings to match your engine’s specifications and driving preferences. - Rev Limiter and Ignition Timing:
Set the rev limiter and ignition timing in the 60153 MSD unit according to your engine’s specifications. Make sure that both systems are communicating effectively to optimize engine performance.
Step 5: Final Checks and Safety Considerations
After everything is connected, ensure that the wiring is organized and secure to prevent any loose connections or damage.
- Secure Wiring and Connections:
Use zip ties, heat shrink tubing, and electrical tape to secure wires and prevent them from coming into contact with moving parts, sharp edges, or hot surfaces. - Test Drive:
Take the vehicle for a test drive to evaluate performance. Monitor how the engine responds to throttle input and observe fuel economy and power output. Use the data logging features of the Sniper EFI system to track engine performance and make any necessary adjustments.
Conclusion
By connecting the 60153 MSD ignition control unit to the Sniper EFI system, you create a high-performance combination that significantly improves engine efficiency, fuel economy, and overall performance. The process requires a detailed understanding of wiring, ignition timing, and fuel delivery, but the results are well worth the effort.
This guide has provided the steps necessary to successfully install and connect these two systems. With proper installation, testing, and tuning, your vehicle will enjoy improved reliability and power, making it a more enjoyable driving experience. Always consult the manuals for both the MSD and Sniper EFI systems for specific guidance and safety precautions.